Dumbbell Routine
Try this great fully body dumbbell routine during your next workout. It’s great for beginners trying something new or even if you’re a seasoned gym […]
Try this great fully body dumbbell routine during your next workout. It’s great for beginners trying something new or even if you’re a seasoned gym […]
Once you start feeling heel pain, don’t ignore it. “If you want to recover faster, intervene early or the pain will get worse and you’ll […]
Have you ever wondered how to use the StairMaster? Using the StairMaster can seem difficult, but with the right steps and right preparation, you will […]
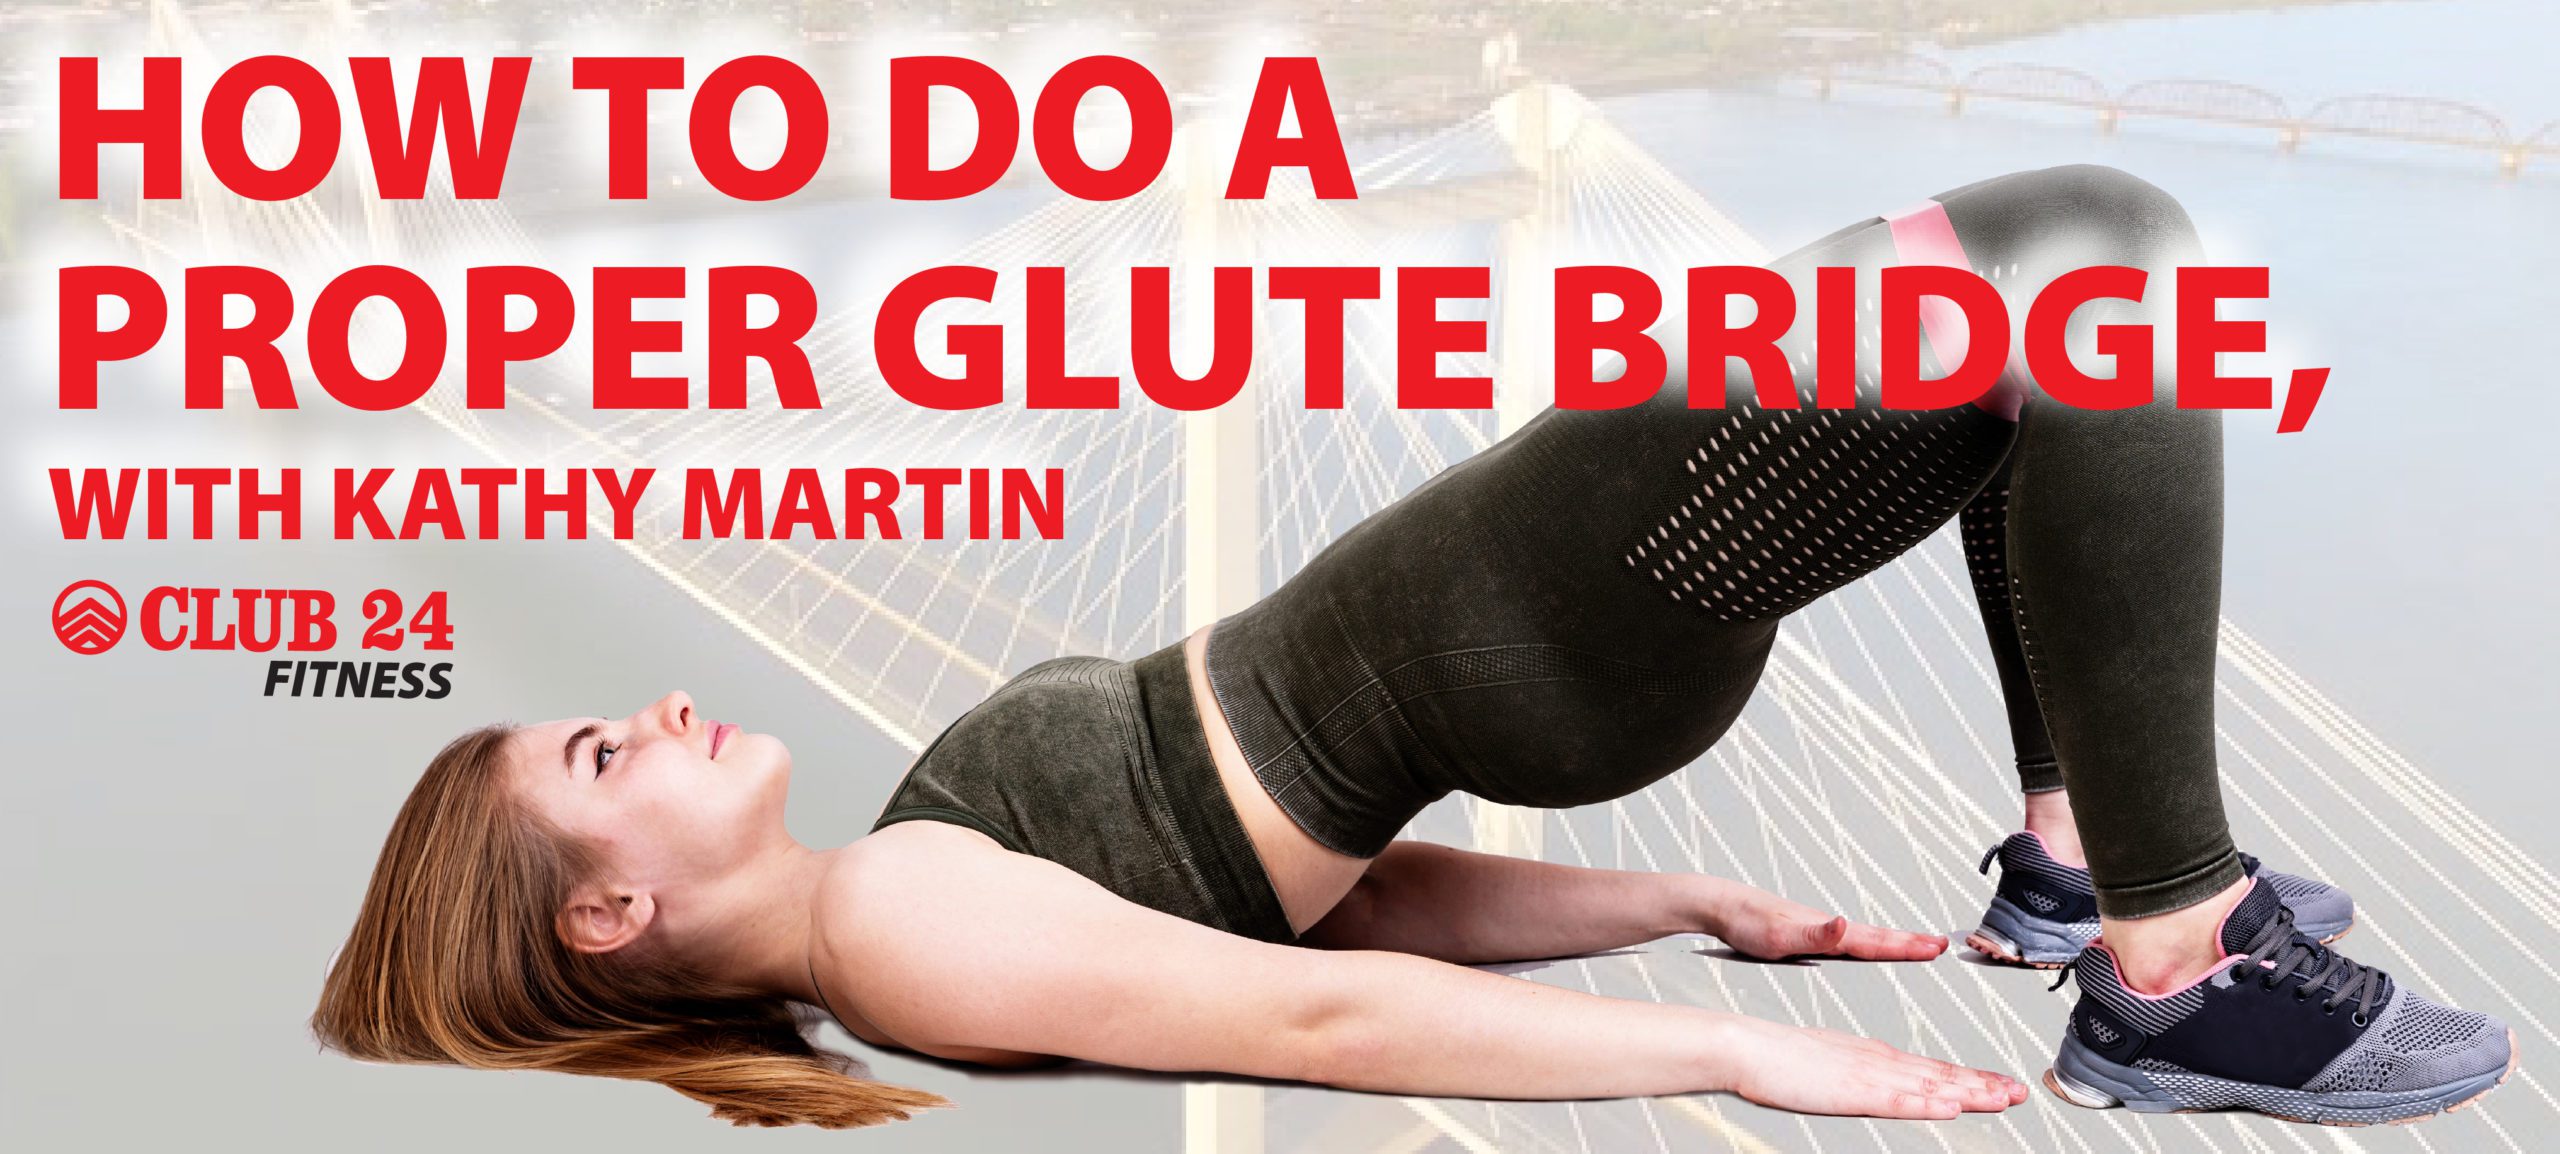
How to do a Glute Bridge Lay down, back flat on the ground, on a soft surface or yoga matt. Place your hands along your […]
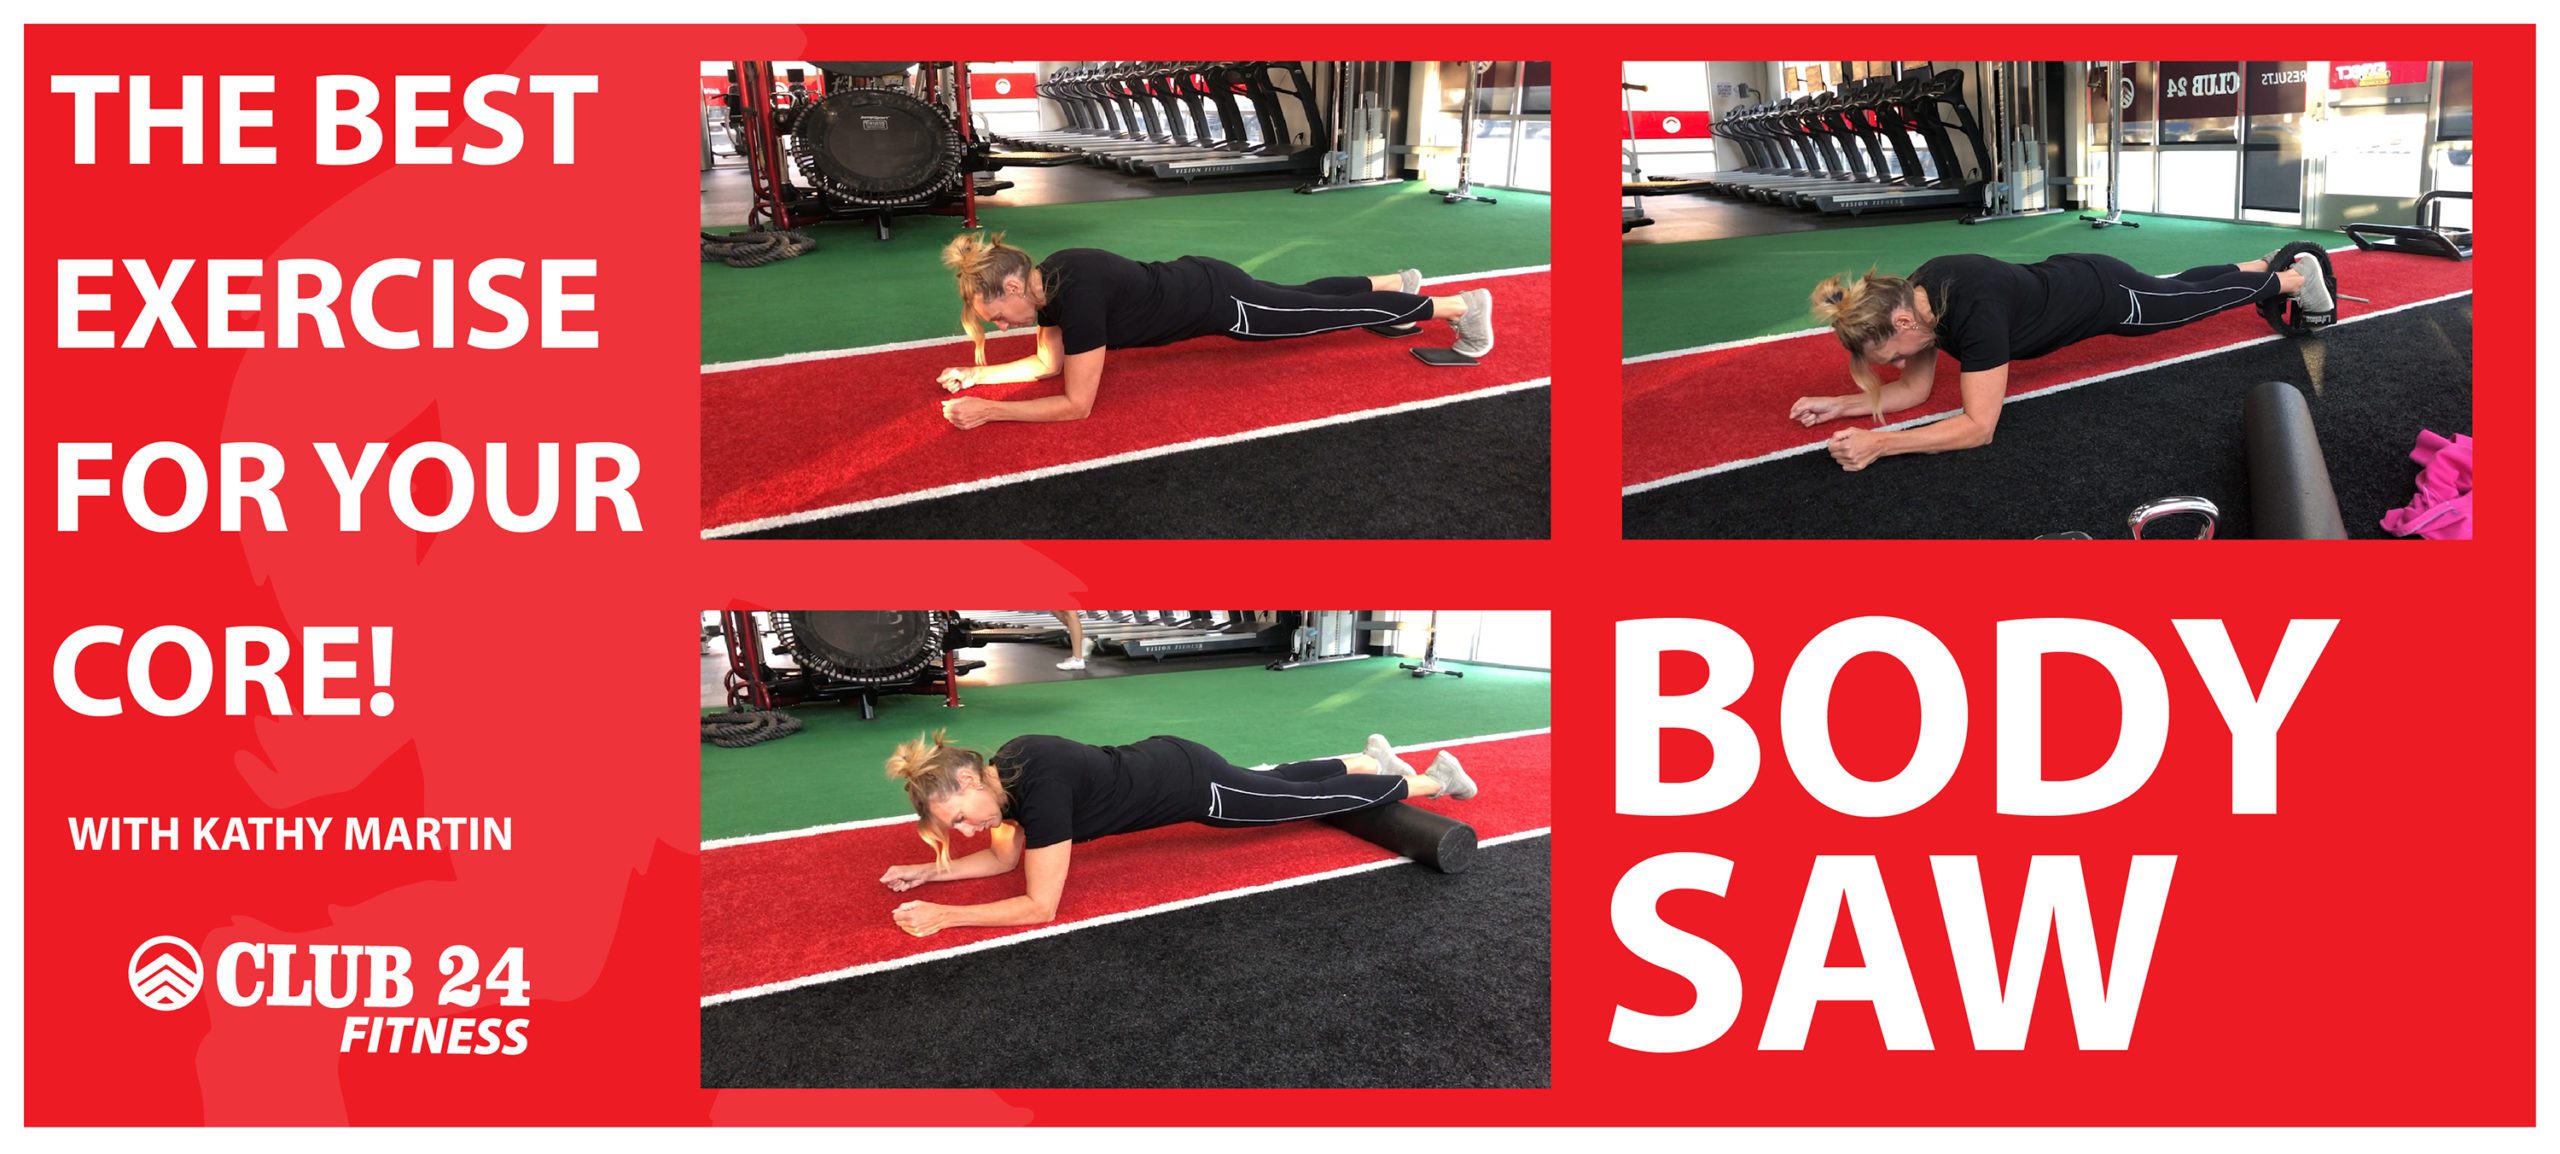
Information from this section provided to you by https://www.t-nation.com/training/inside-the-muscles-best-ab-exercises Inside the Muscles: Best Ab Exercises By Bret Contreras | 05/17/2010 Demonstration by Kathy Martin Today […]
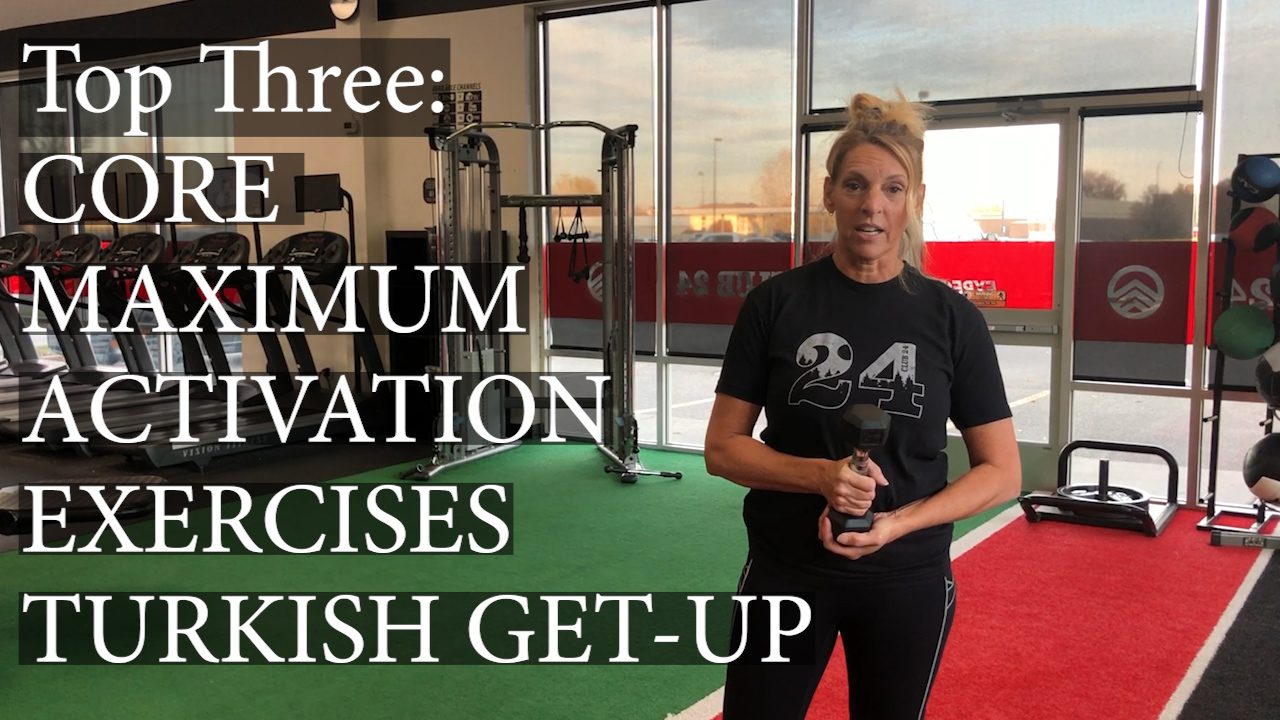
The best exercises for your core: The Turkish Get-Up with Kathy Martin! The Turkish Get-up works on multiple muscles because it goes through multiple positions. […]
The best exercises for your core: Chin Up Find a flat pull up bar. If you need to, use a box, bench, or step up […]
Have you ever wondered whether you should get that extra hour of sleep or whether you should get up to go to the gym at […]
According to a study released by Lancet, globally 1 in 5 deaths (11 million deaths) were associated with poor diet in 2017. Cardiovascular disease being […]

In an article posted by the European Journal of Preventive Cardiology, it is said that physiological age (Age Based on Exercise Stress Testing or A-BEST […]